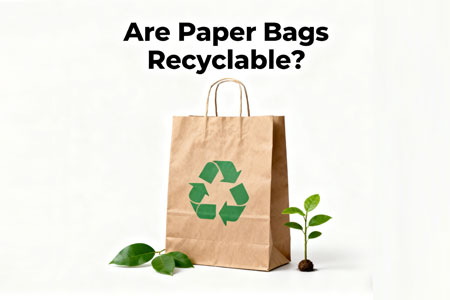
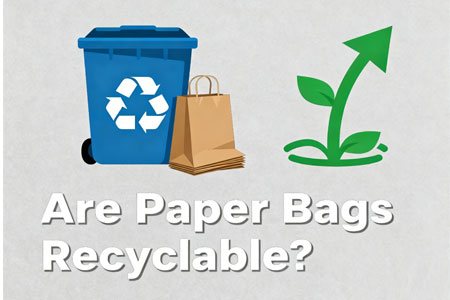
In an era where environmental sustainability has become a global priority, consumers and businesses alike are increasingly questioning the ecological impact of everyday products. One common query that echoes across supermarkets, retail stores, and corporate boardrooms is: Are paper bags recyclable? The short answer is a resounding "Yes"—and this simple fact is driving a surge in demand for high-quality paper bags, placing advanced paper bag making machines at the heart of the green revolution.
The Truth About Paper Bags
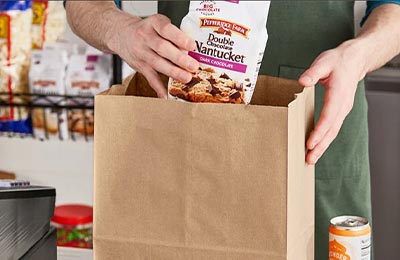
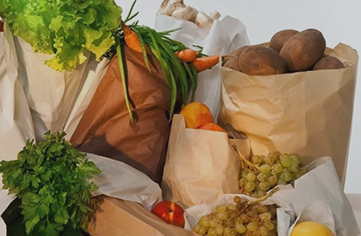
Unlike single-use plastic bags that can take centuries to decompose and often end up polluting oceans and landfills, paper bags are a game-changer for sustainability. Most paper bags are made from wood pulp, a renewable resource when sourced from responsibly managed forests. But what truly sets them apart is their recyclability: standard paper bags can be recycled up to 7 times, and even when they reach the end of their lifecycle, they biodegrade naturally within a few months, leaving minimal environmental footprint.
For businesses, this isn’t just a matter of ethics—it’s a strategic imperative. Modern consumers are more likely to patronize brands that align with their eco-friendly values. A study by Nielsen found that 73% of global consumers are willing to pay more for products from sustainable brands. By switching to paper bags, businesses not only reduce their carbon footprint but also enhance their brand image and customer loyalty. However, the key to reaping these benefits lies in partnering with the right paper bag production solutions—and that’s where advanced paper bag machines come into play.
Why Advanced Paper Bag Machines Are Non-Negotiable for Sustainable Production
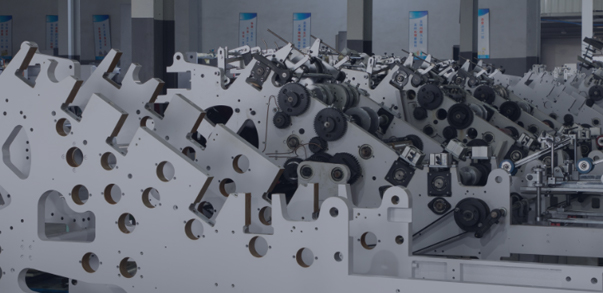
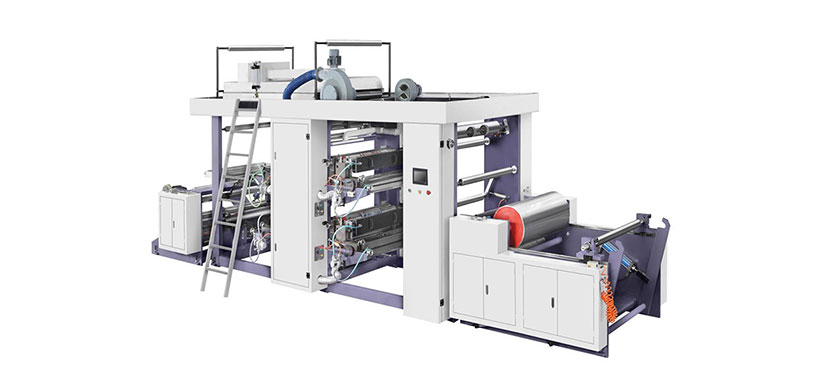
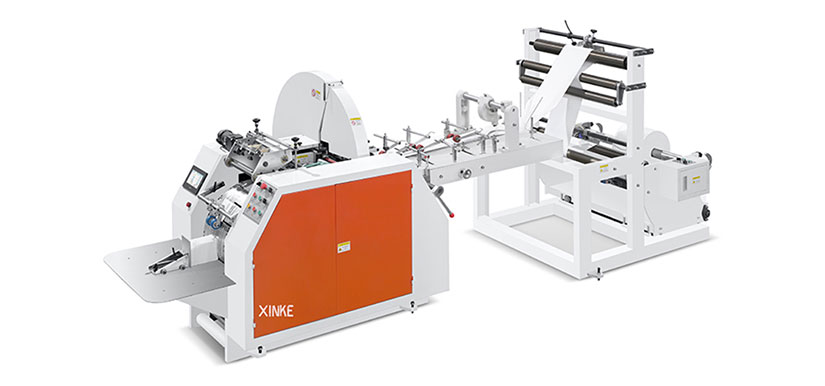
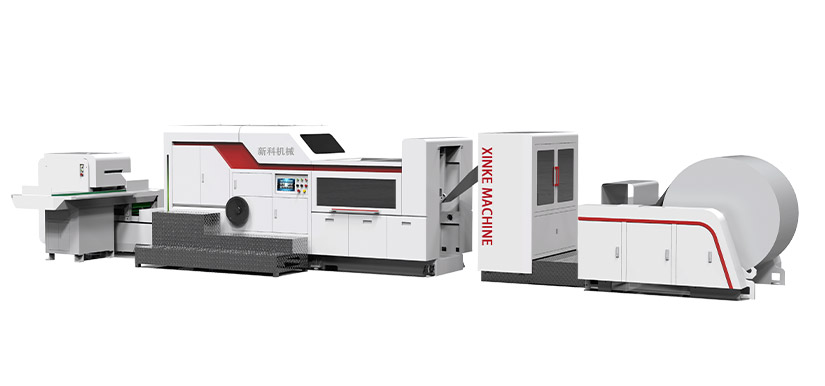
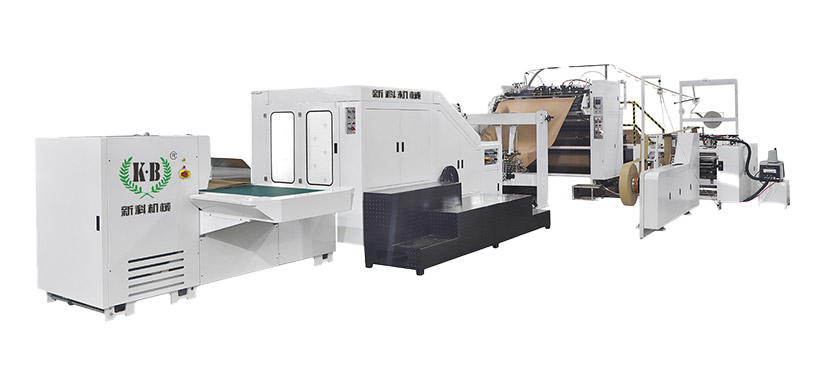
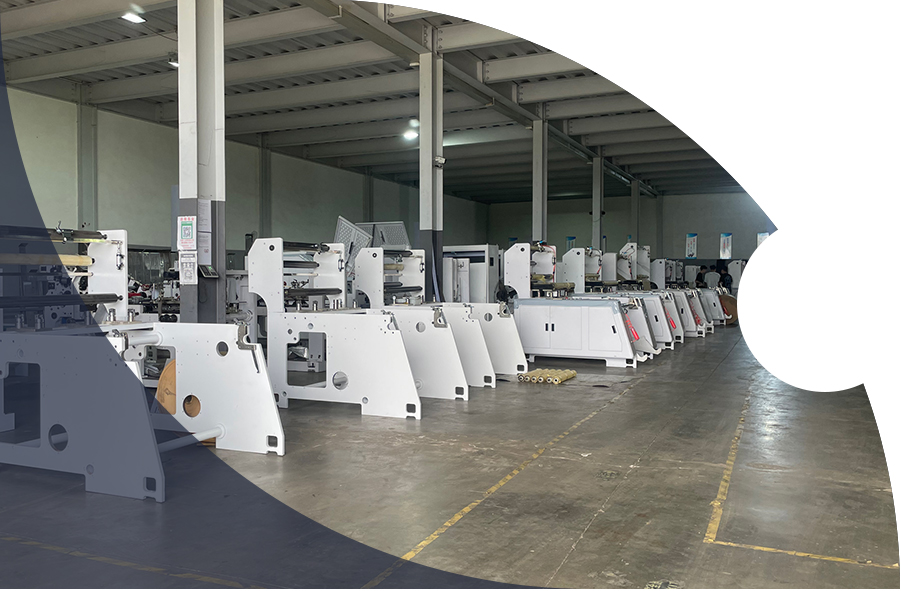
Not all paper bag machines are created equal. To meet the growing demand for high-quality, recyclable paper bags, businesses need machinery that combines efficiency, reliability, and environmental consciousness. Our state-of-the-art paper bag making machines are designed to address every challenge of modern paper bag production, ensuring that your business can deliver sustainable solutions without compromising on performance.
First and foremost, our machines boast exceptional production efficiency. With advanced automation technology, they can produce up to 2,000 paper bags per minute—significantly reducing production time and labor costs. This means you can scale your paper bag output to meet peak demand periods, whether it’s during holiday seasons or promotional campaigns, without sacrificing quality. What’s more, our machines are highly versatile, capable of producing a wide range of paper bag types—from shopping bags and gift bags to food-grade bags—all tailored to your specific business needs.
Sustainability is baked into every component of our machinery. Our paper bag machines are optimized to work with recycled paper materials, minimizing waste and maximizing the use of renewable resources. They also feature energy-saving technology, reducing power consumption by up to 30% compared to traditional machines. This not only lowers your operational costs but also aligns your production process with global sustainability standards, making your business a true leader in eco-friendly practices.
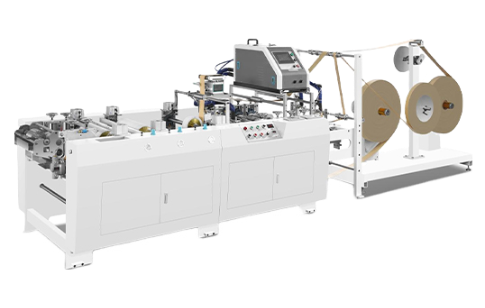
Adjustable Roll Feeding Common V Bottom Paper Bag Machine With Tracking
Real-World Impact
Take the example of a mid-sized retail chain in Europe that recently switched to paper bags using our machinery. Prior to partnering with us, the chain struggled with inconsistent paper bag quality and high production costs, which made it difficult to justify the switch from plastic. After investing in our advanced paper bag making machine, they saw a 40% reduction in production costs and a 25% increase in customer satisfaction scores—all while reducing their annual plastic waste by 15 tons. "Our customers love that we’re doing our part for the environment, and the efficiency of the machine means we can keep our prices competitive," said the chain’s operations director. "It’s a win-win for our business and the planet."
Another success story comes from a food delivery service in Asia. With strict local regulations on plastic packaging, the service needed a reliable way to produce food-grade paper bags that are both recyclable and durable enough to hold hot and cold items. Our paper bag machines, equipped with food-safe production technology, allowed them to produce custom-designed bags that meet all safety standards. Within six months, the service reduced its plastic usage by 80% and saw a 30% increase in new customers who cited the brand’s sustainable packaging as a key reason for their choice.
Join the Green Revolution—Partner With the Leaders in Paper Bag Machinery
The question "Are paper bags recyclable?" is no longer a point of debate—it’s a starting point for businesses looking to build a more sustainable future. By investing in advanced paper bag making machines, you’re not just purchasing equipment—you’re investing in your brand’s reputation, customer loyalty, and the health of the planet.
Our team of experts is dedicated to helping you find the perfect paper bag machine solution for your business. Whether you’re a small boutique looking to produce custom gift bags or a large-scale manufacturer needing high-volume production, we have the technology and expertise to meet your needs. We also offer comprehensive after-sales support, including installation, training, and maintenance, ensuring that your machinery operates at peak performance for years to come.
Don’t let outdated equipment hold your business back from embracing sustainability. Contact us today to learn more about our advanced paper bag making machines and take the first step toward a greener, more profitable future. Remember—every recyclable paper bag starts with the right machine, and every sustainable choice brings your business one step closer to winning the trust of modern consumers.


 Why Choose